How to Set Up a Lead Magnet Funnel in Kajabi (The Easy, Elegant Way)

Hey friend, it’s Erika from Gold Coast Creative! Today, I’m breaking down exactly how to set up a lead magnet funnel in Kajabi—step by step. If you’ve got a valuable piece of content you want to share in exchange for an email address, this walkthrough will take you from idea to live funnel. By the end, you’ll have a system that grows your list while you sleep. 🙌
Step 1: Create Your Lead Magnet
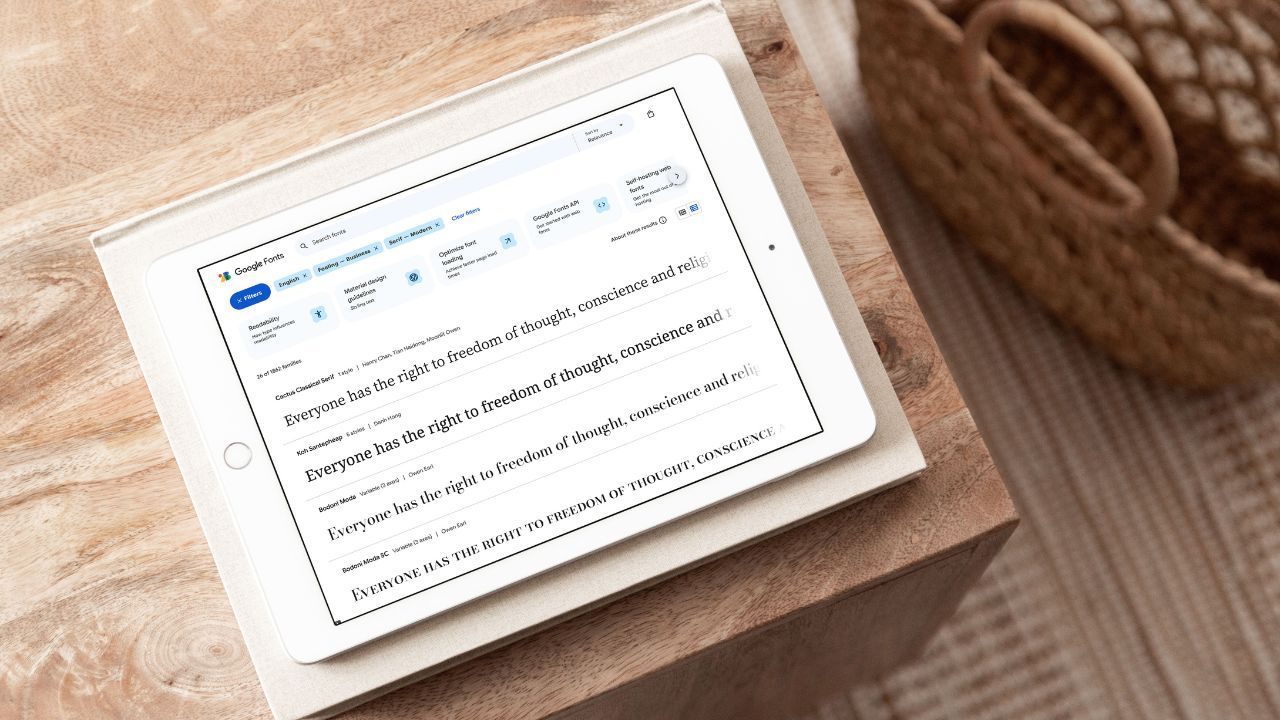
Before touching Kajabi, decide on your freebie. Aim for high value, low effort for your audience. Think done-for-you templates, swipe files, ChatGPT prompts you already use, or a simple checklist people can print and use immediately. Make the title irresistible and crystal-clear about the result. Don’t overthink design—Canva is perfect for quick, polished layouts (or use InDesign if that’s your jam).
Step 2: Set Up Your Landing Page in Kajabi
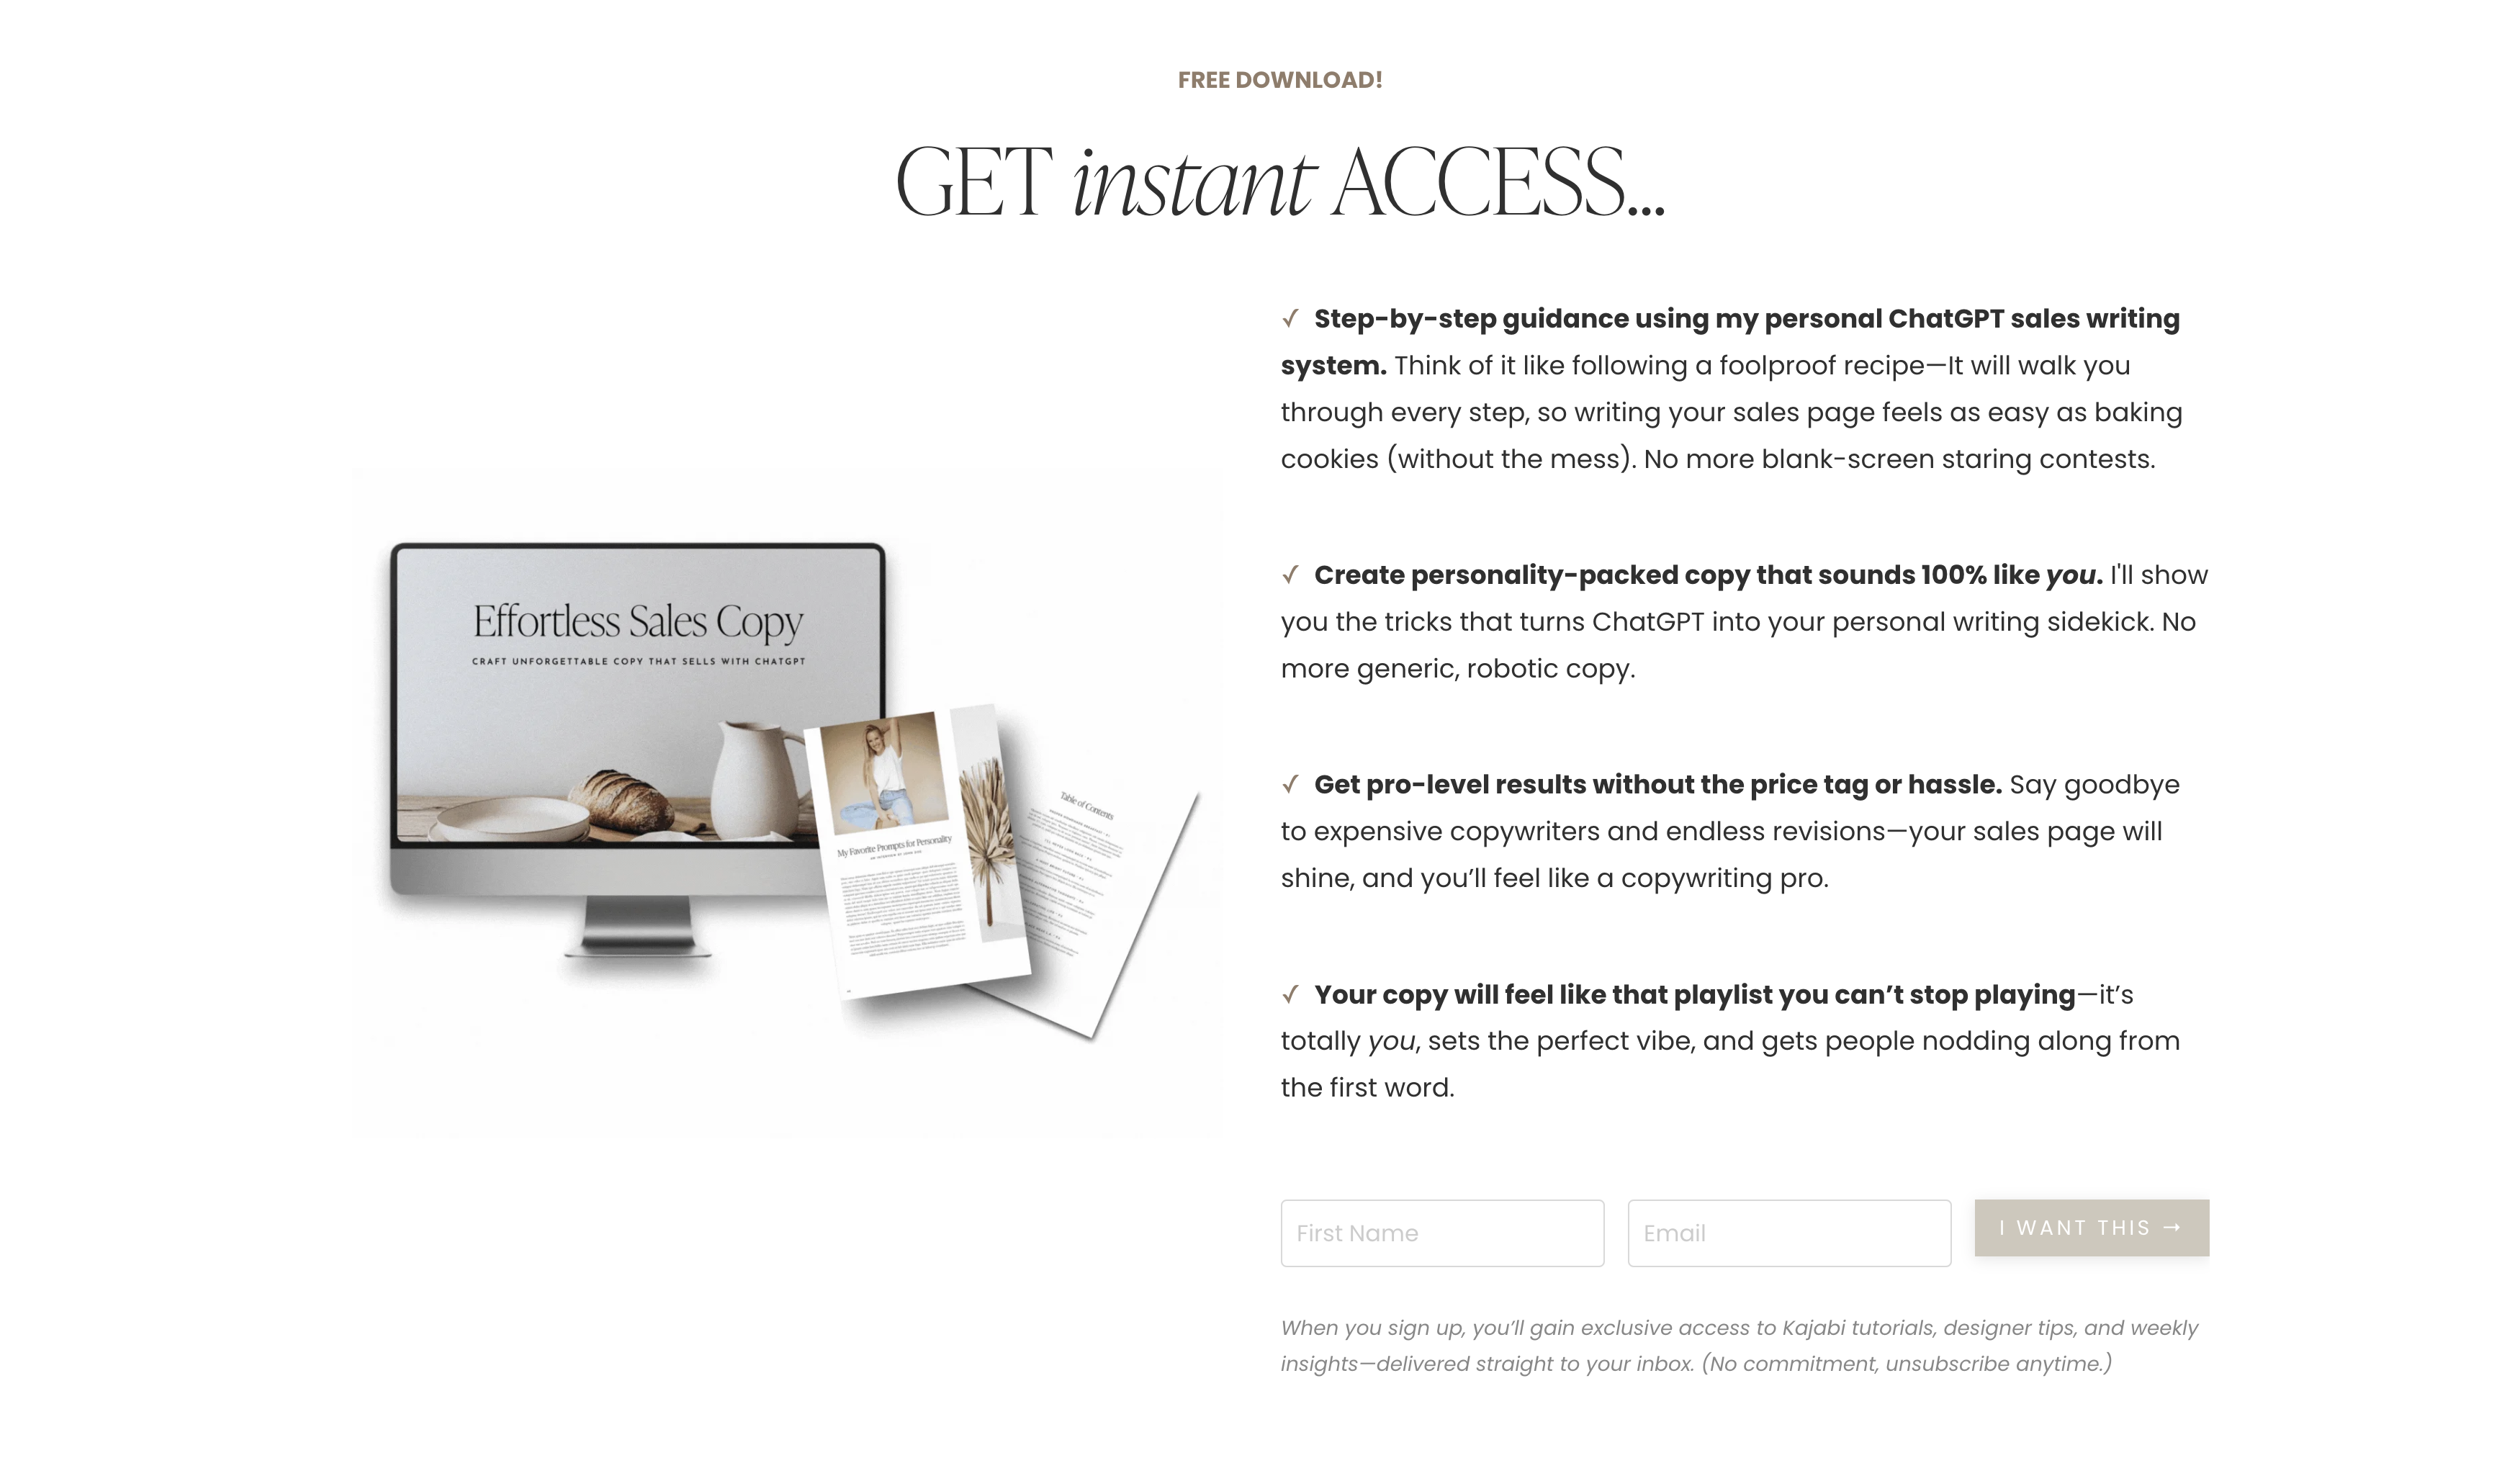
Head to Website → Landing Pages. You can start with a free Kajabi template or upload a pre-designed page. I often upload one of my high-end templates so it’s plug-and-play. Swap in your headline, subhead, benefit bullets, and a clear call-to-action so visitors know exactly what they’re getting and how to grab it.

Step 3: Add a Polished Mockup
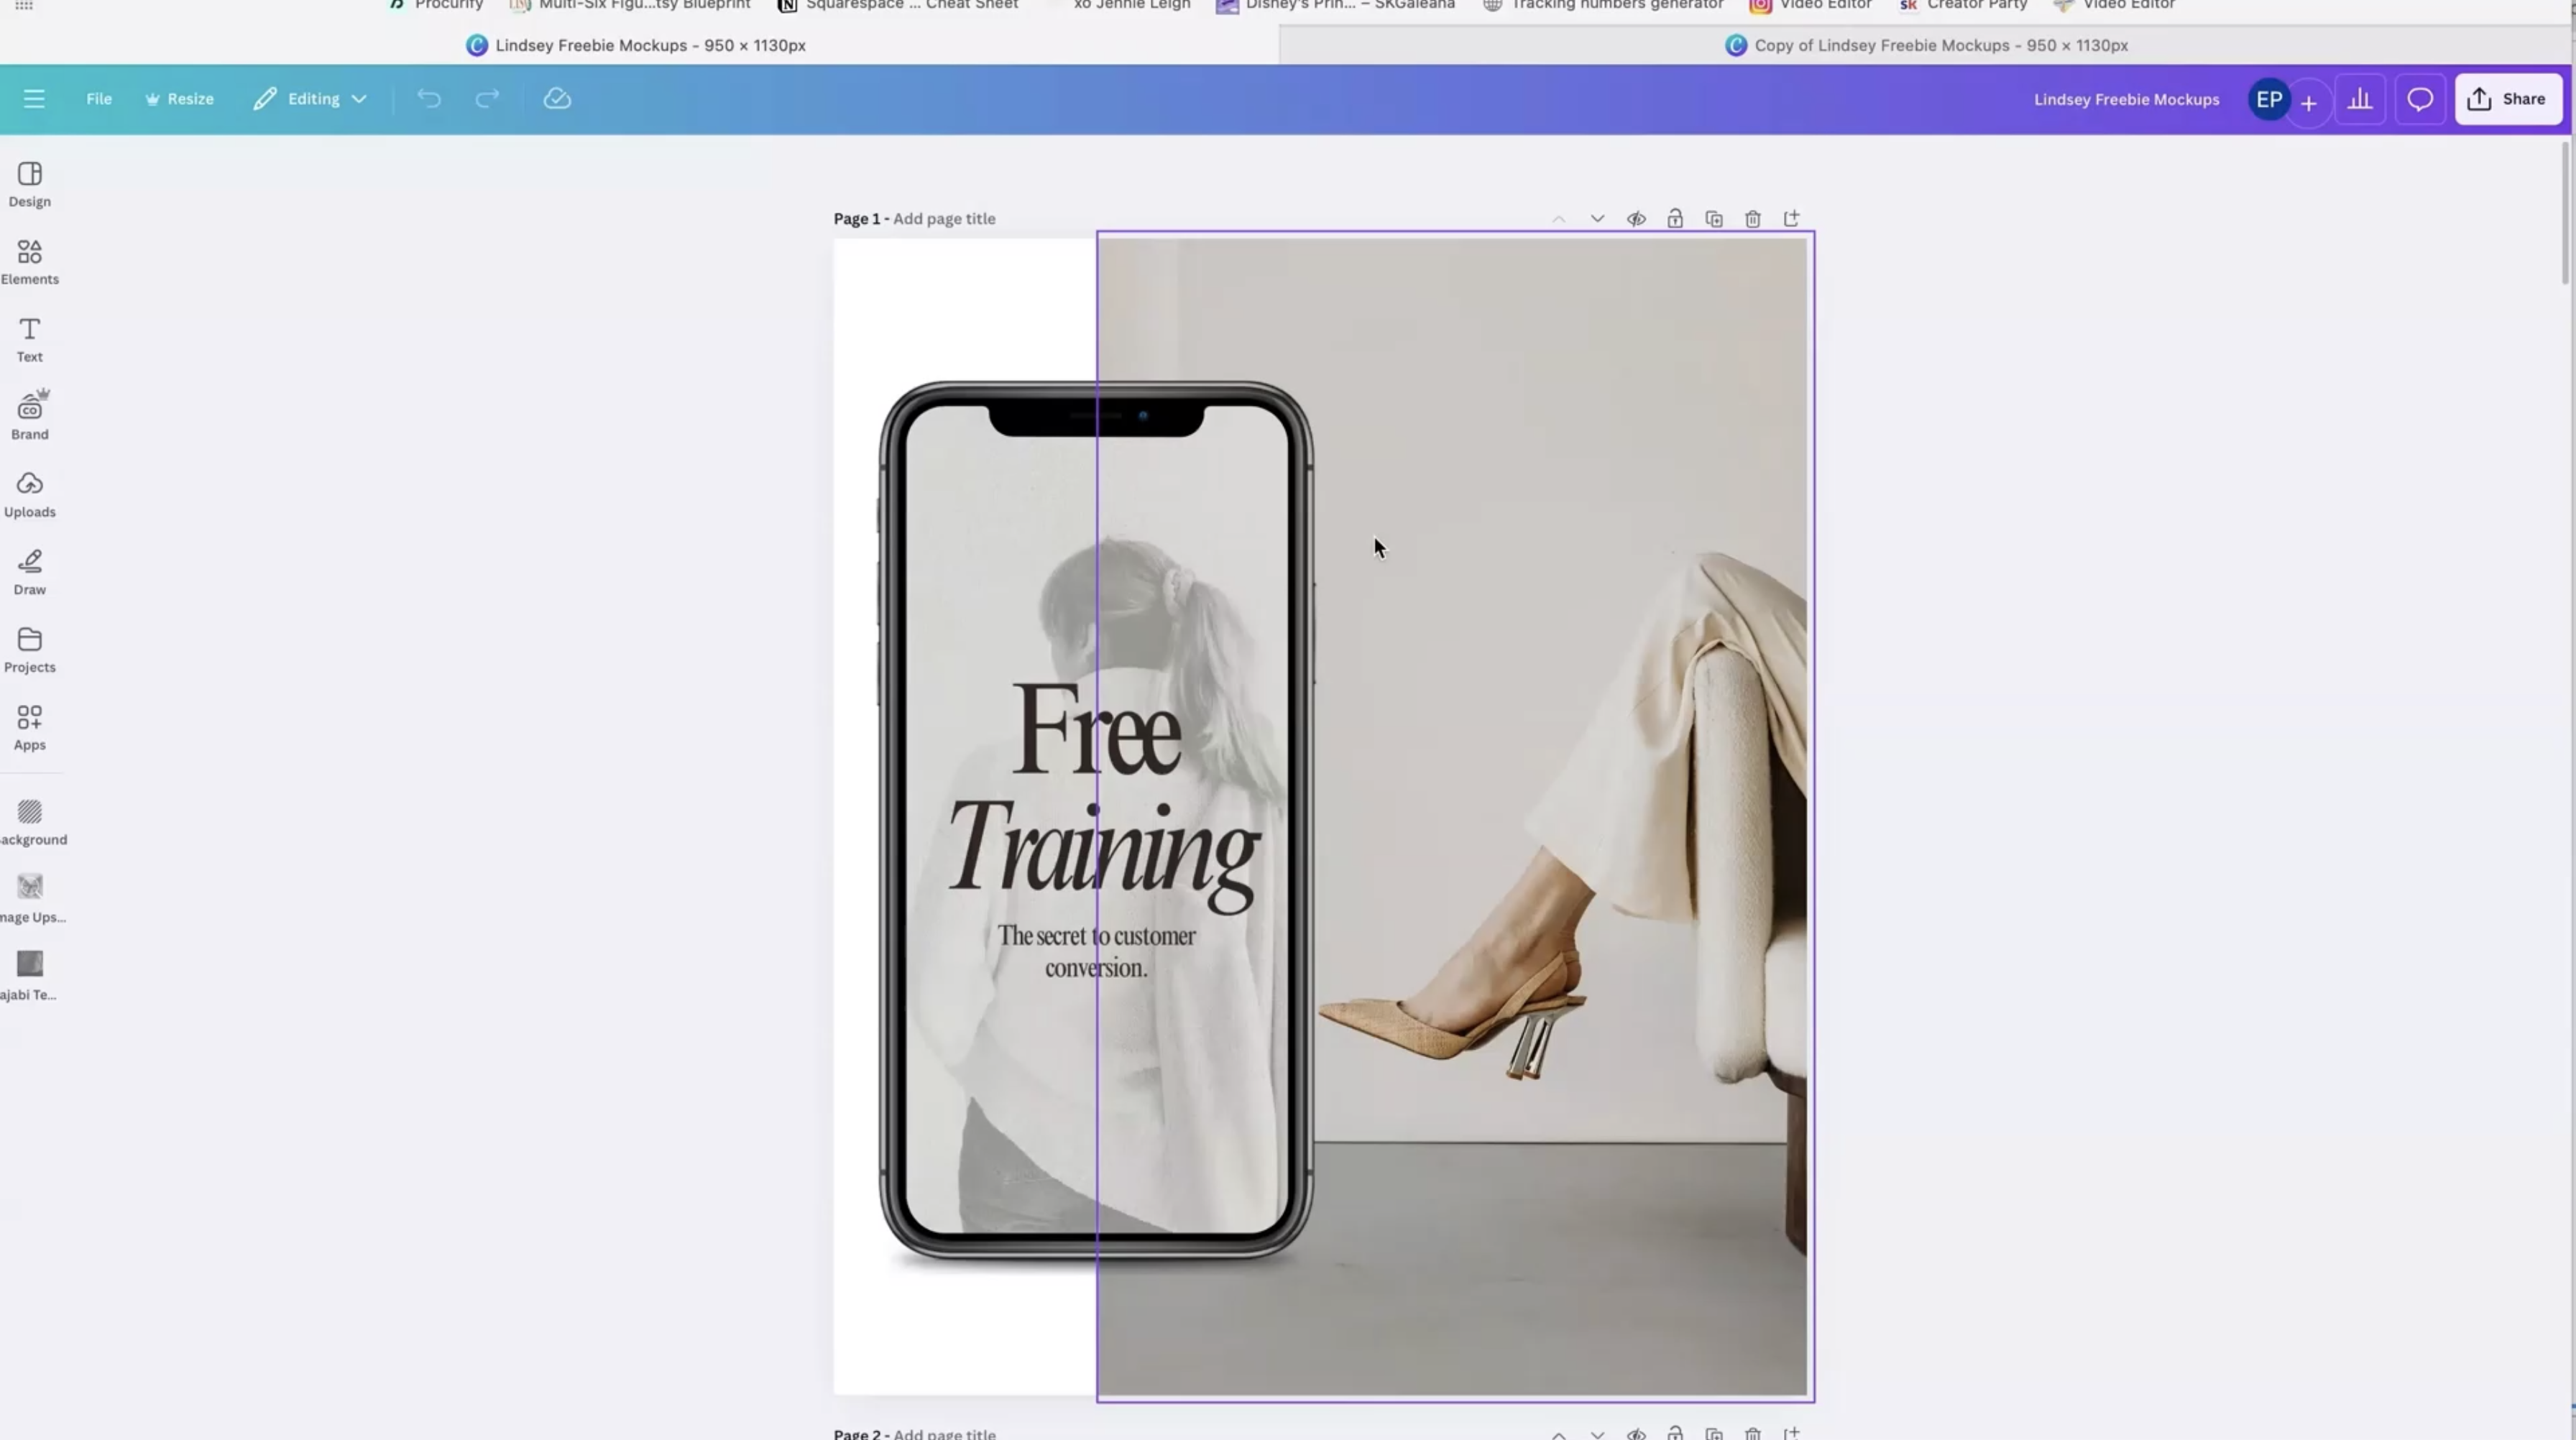
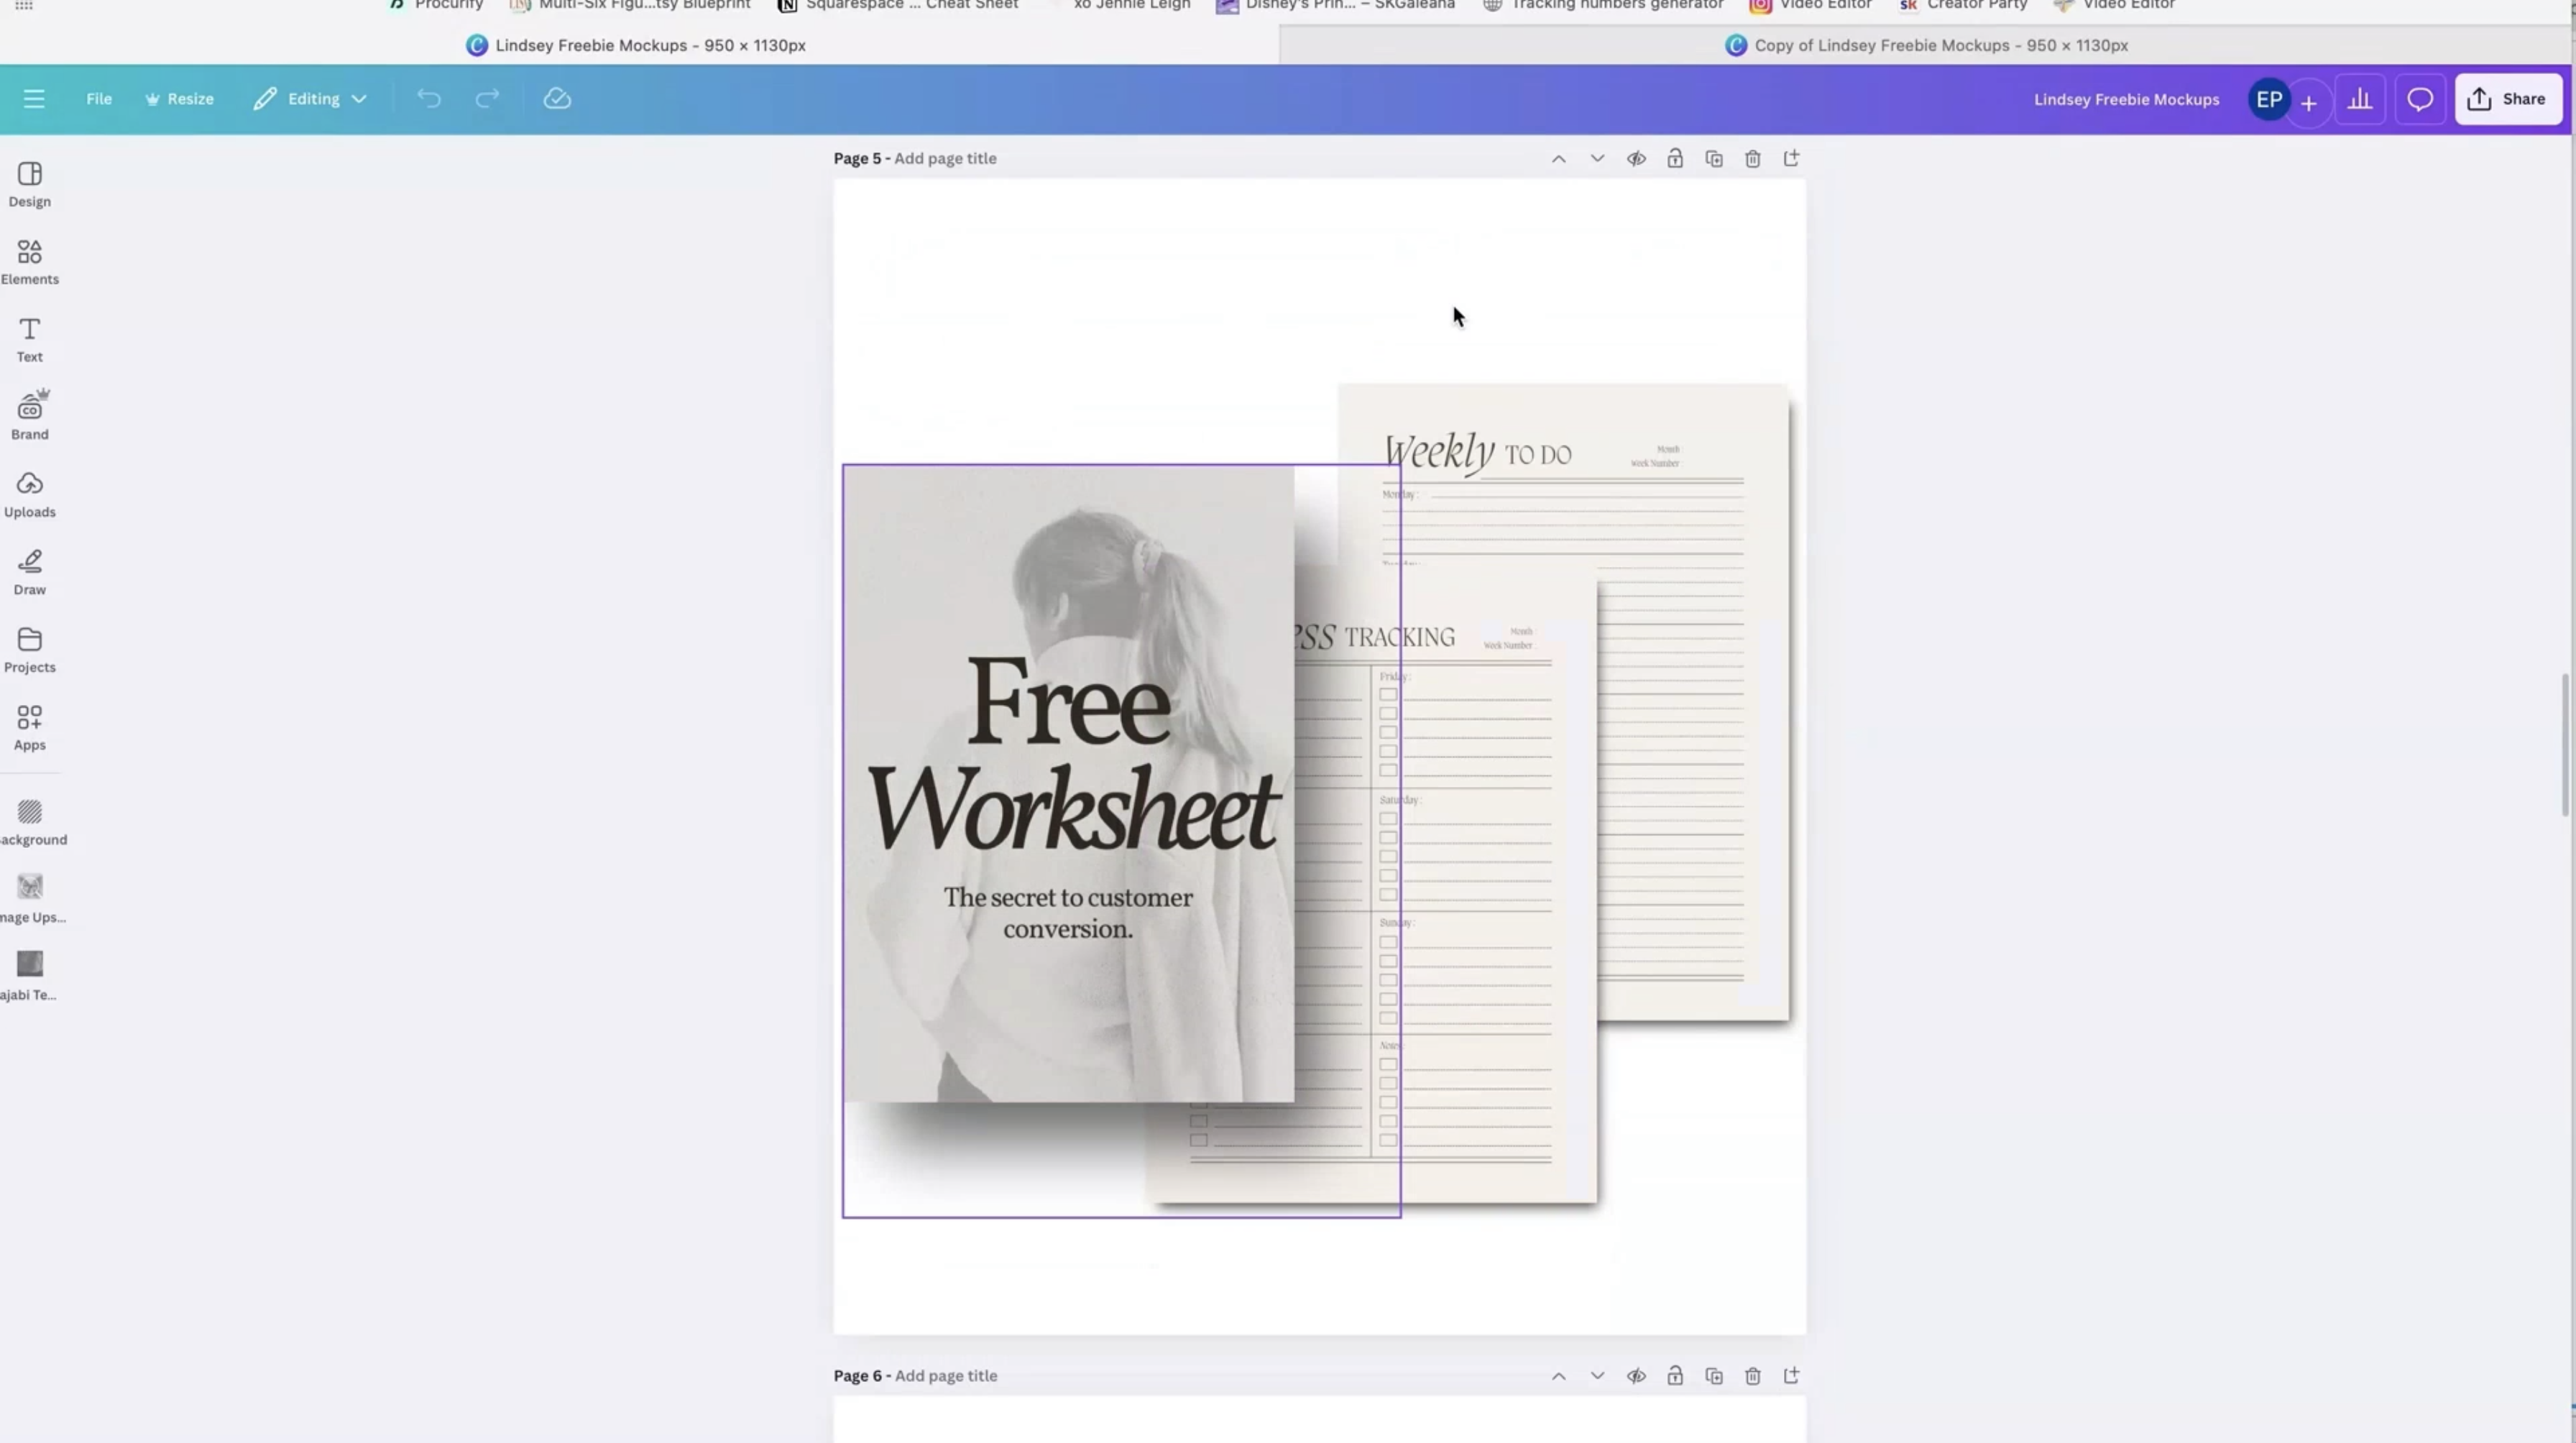
Visuals sell. Use a mockup that shows your PDF/pages beautifully—laptop screens, stacked pages, or phone previews. I often create mine in Canva. Sometimes I’ll export a subtle GIF for a classy bit of motion (keep file sizes reasonable so your page stays speedy).
Step 4: Connect and Customize Your Form
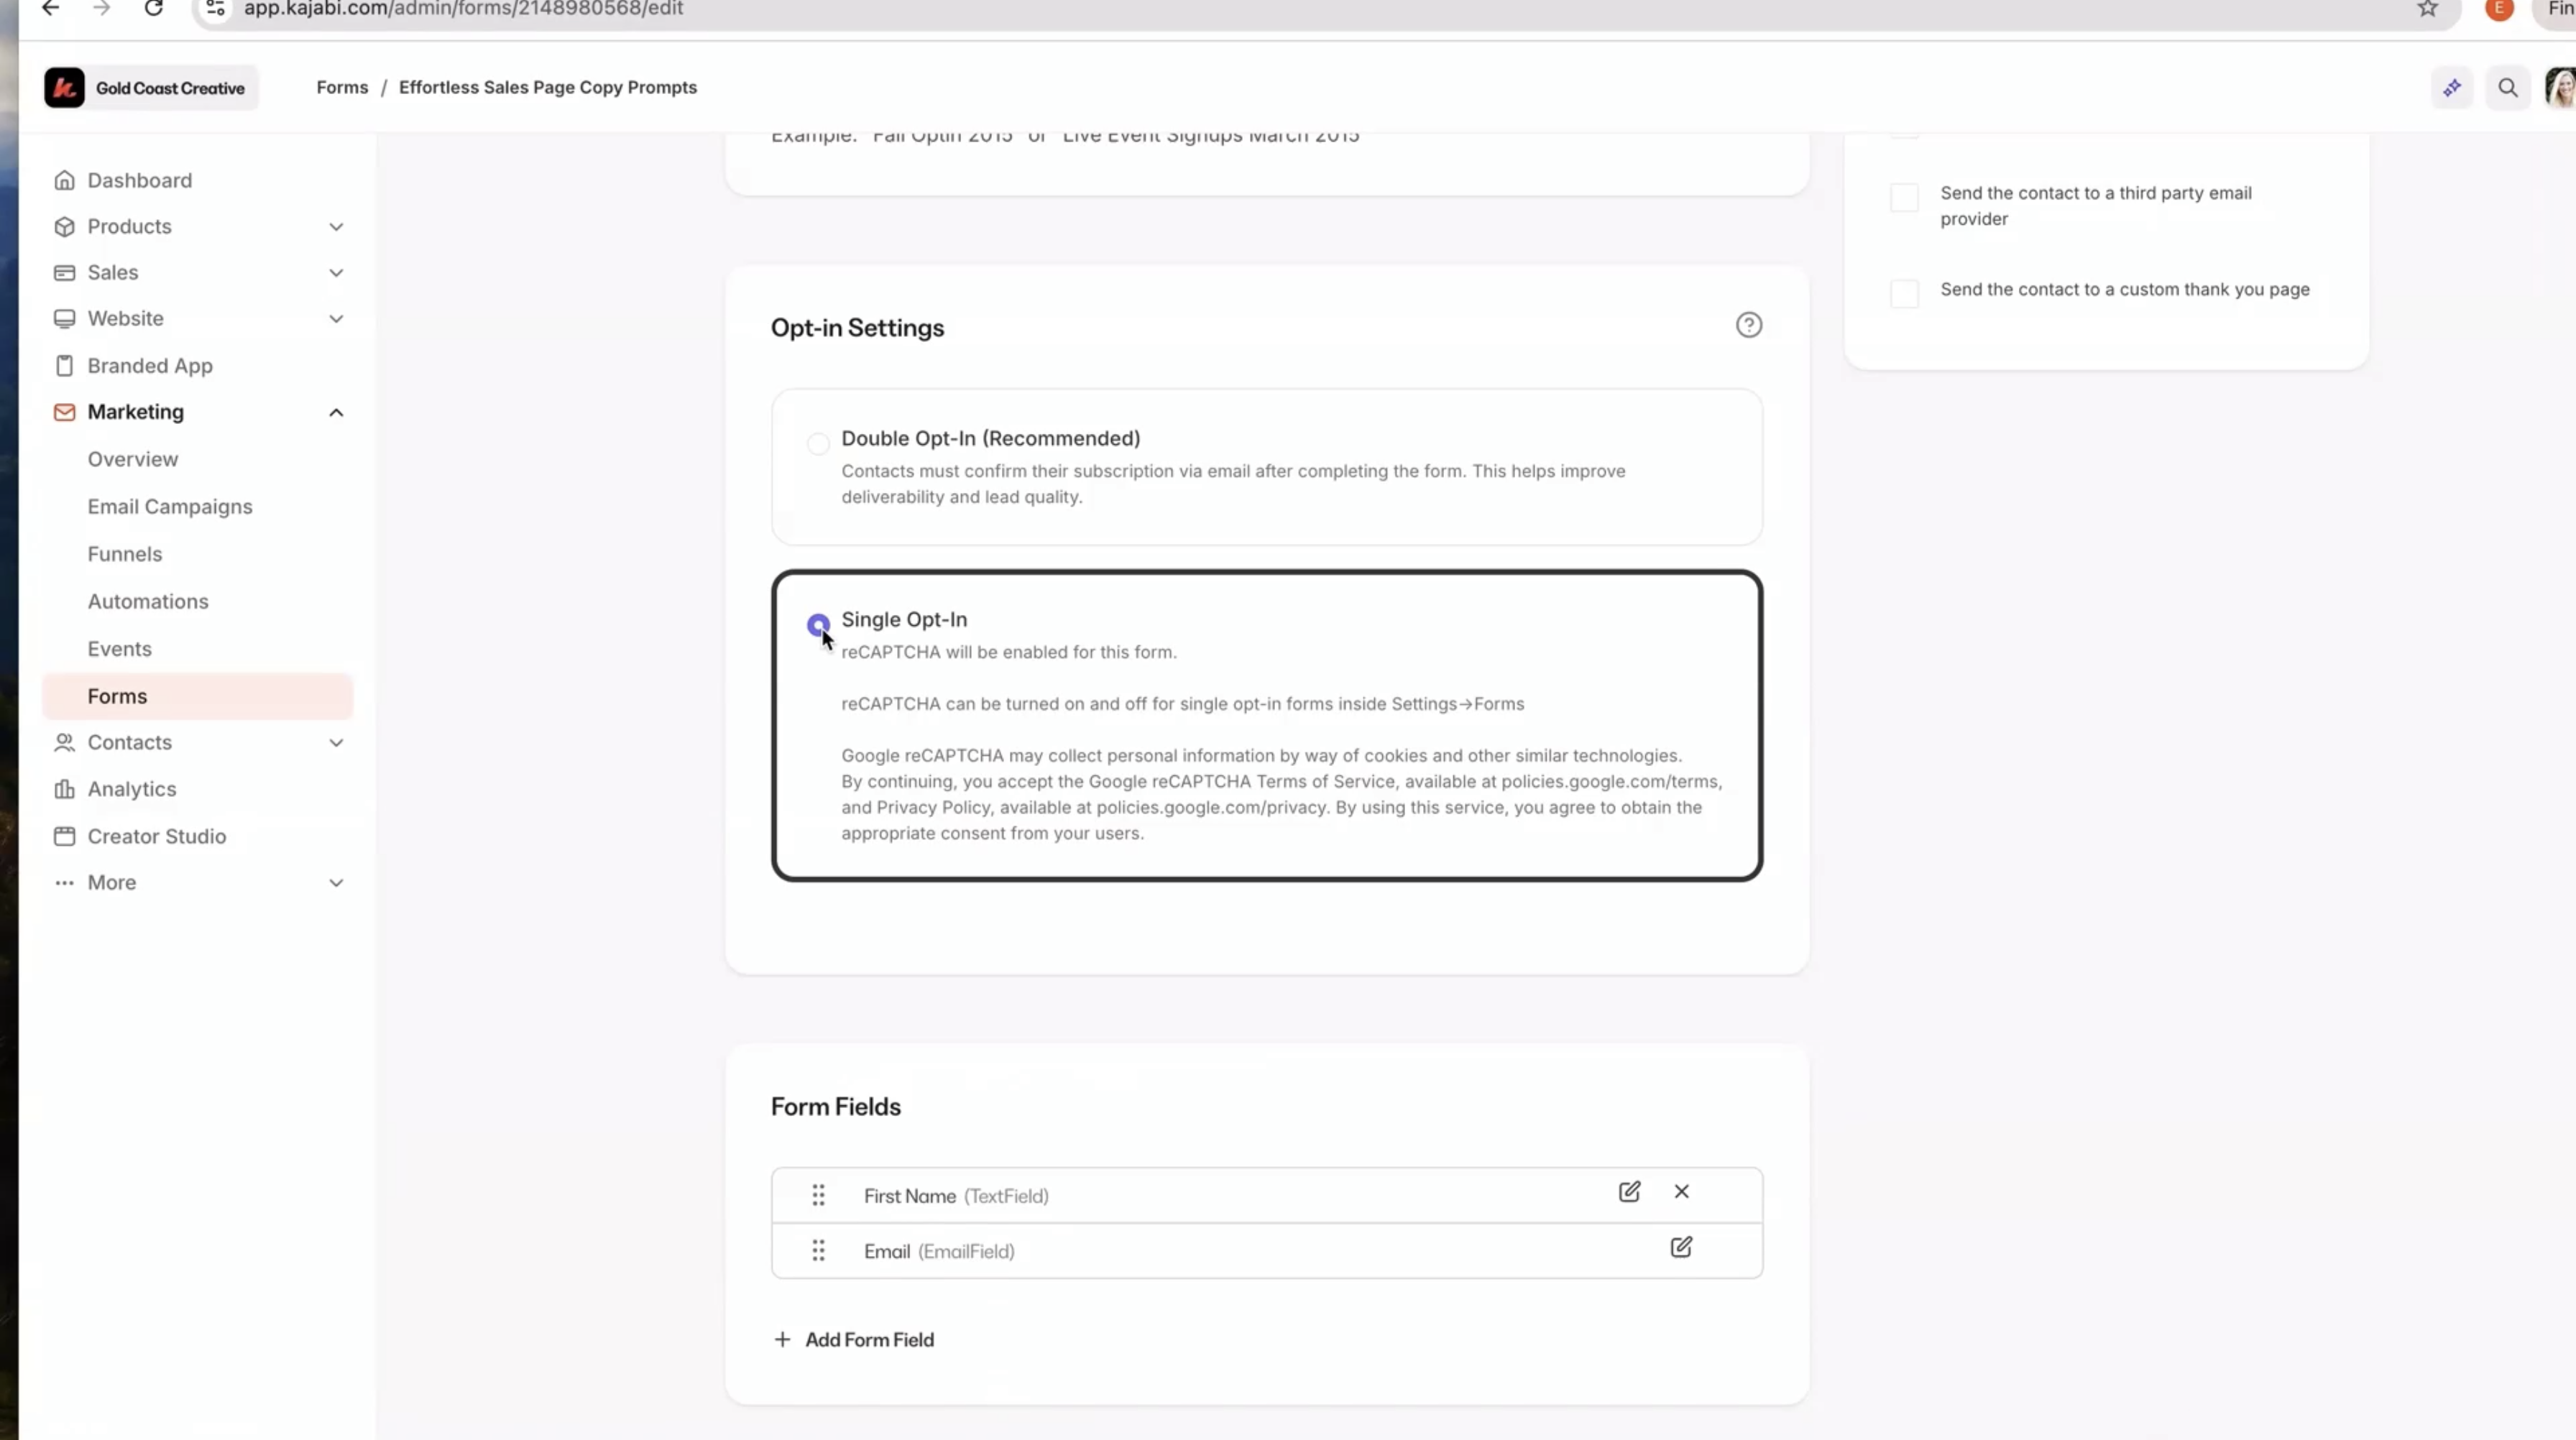
Create a new form specifically for this lead magnet. Keep fields minimal—usually just name and email—to reduce friction. I prefer single opt-in for ease (Kajabi recommends double opt-in), so choose what fits your list strategy.
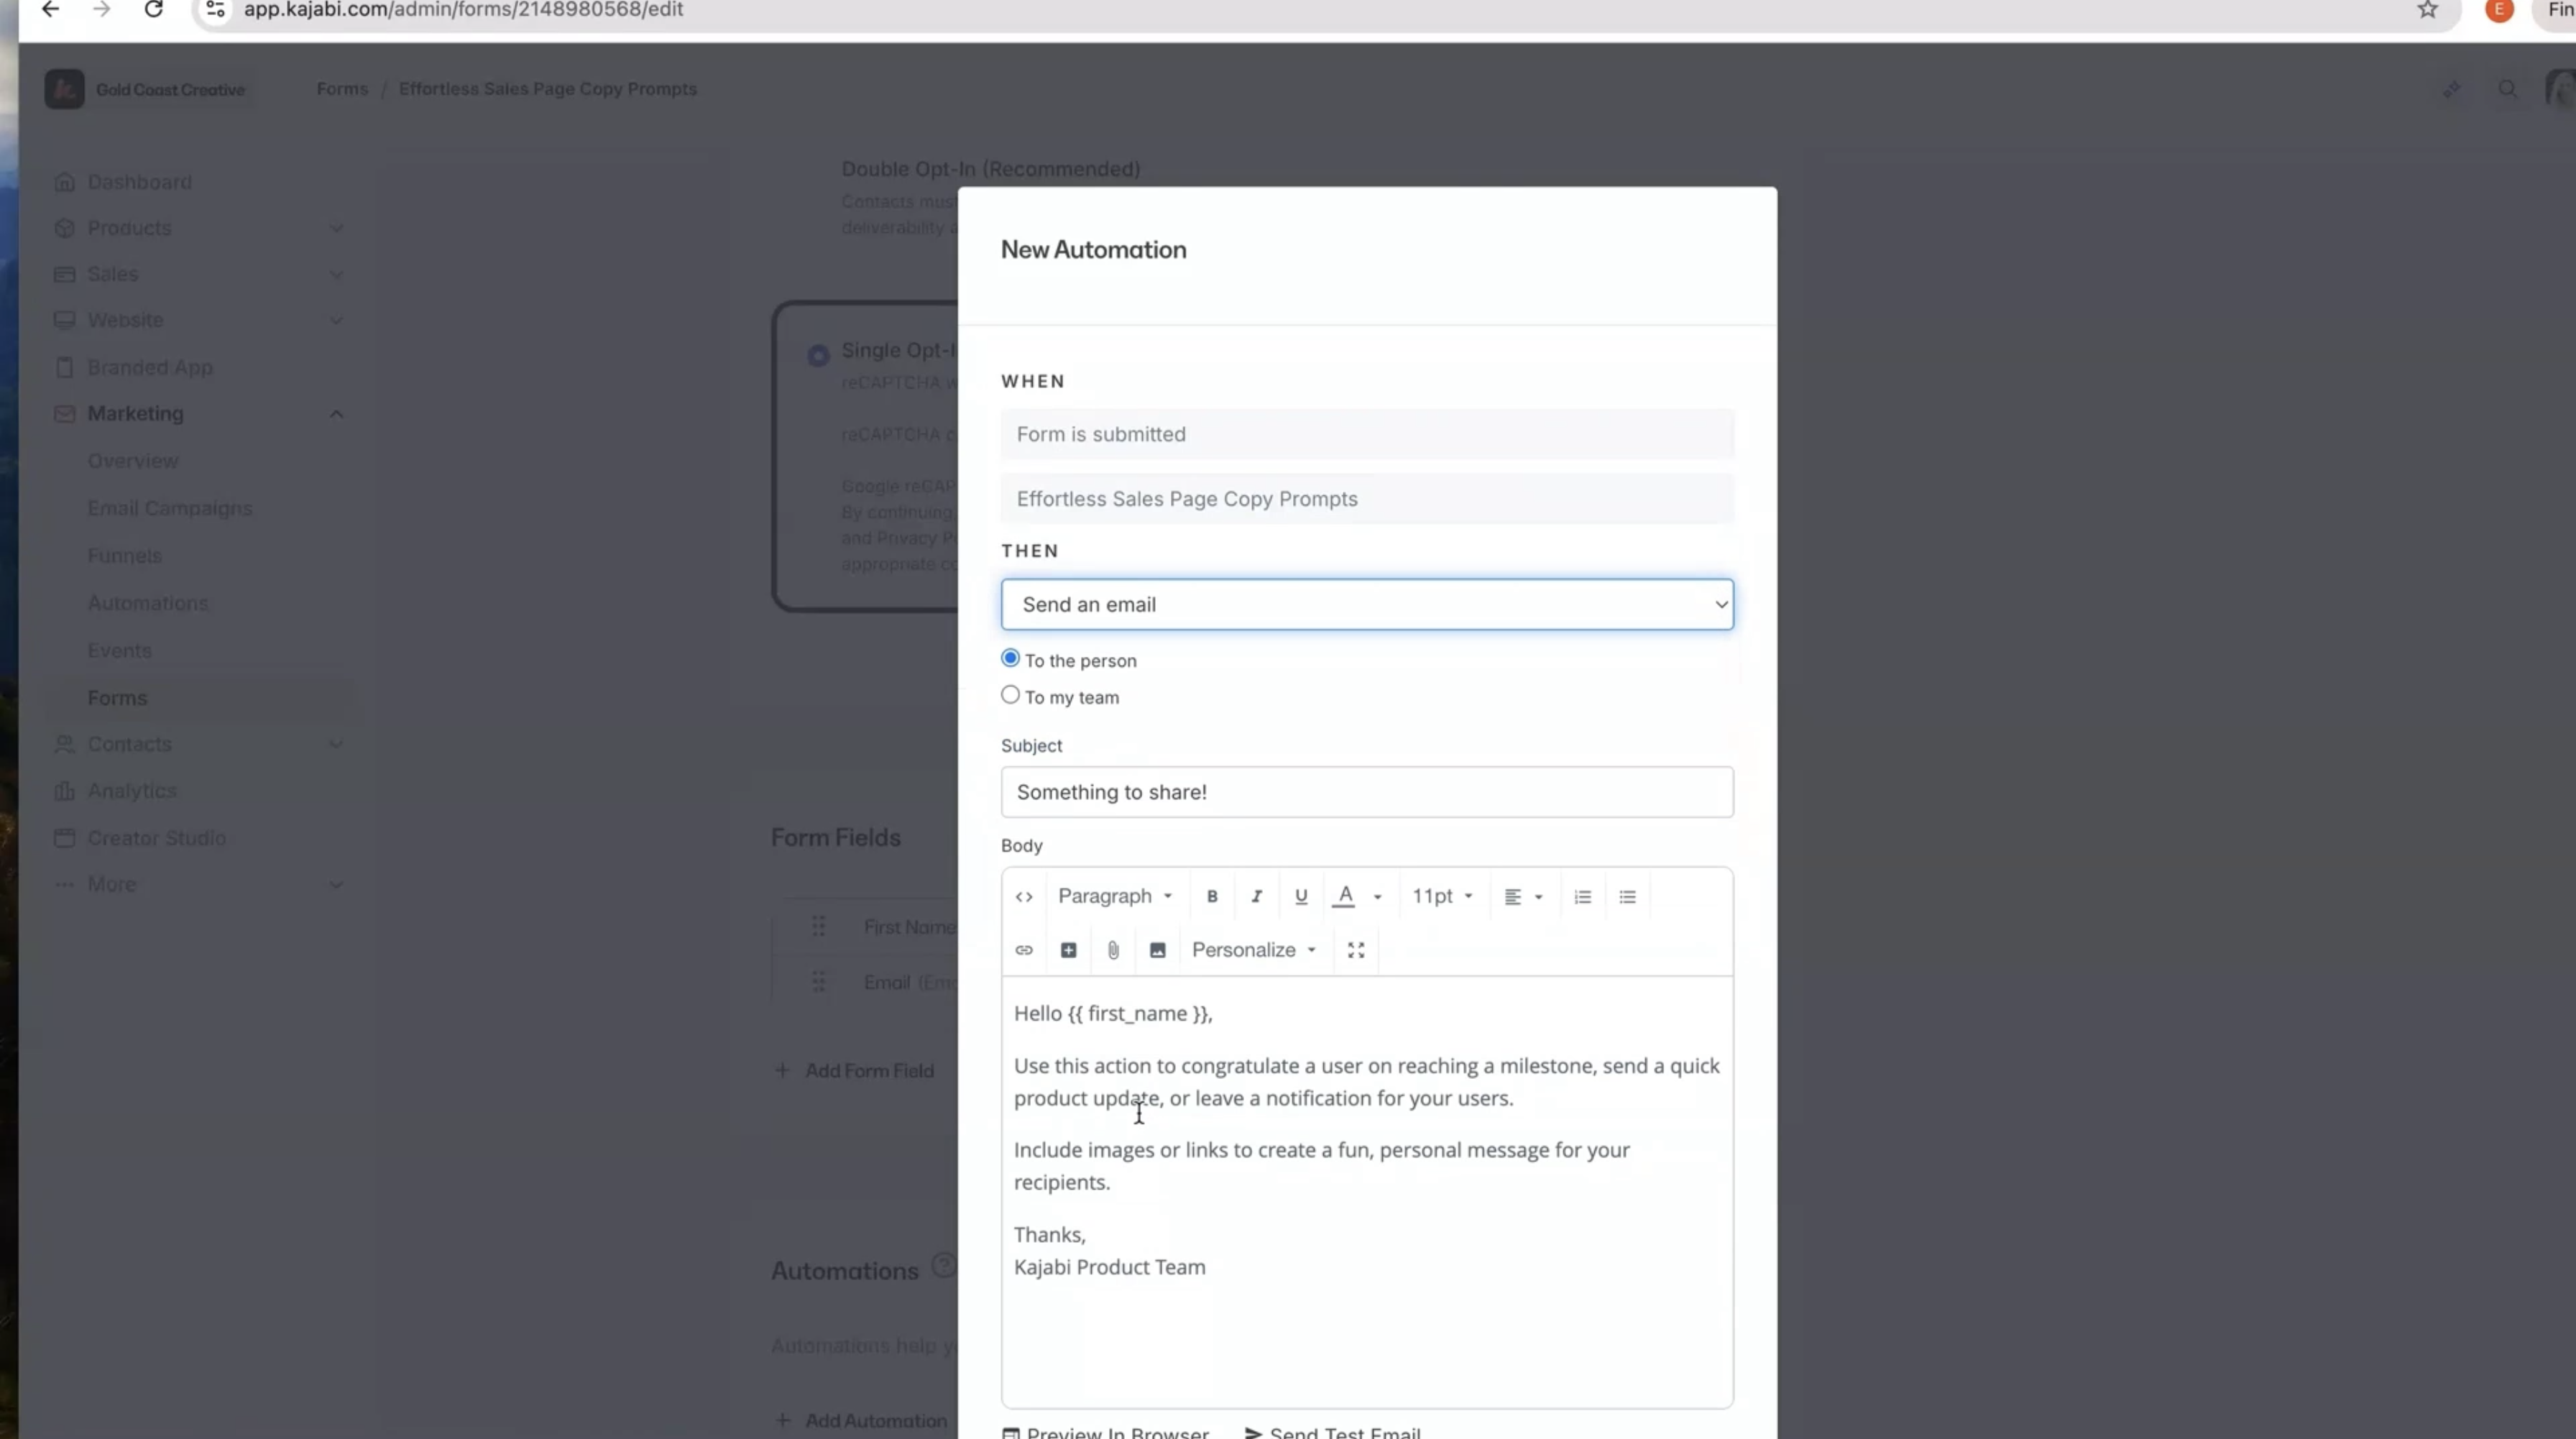
Step 5: Set Up Email Automations
This is where Kajabi shines. Add an automation to send the delivery email immediately with a warm welcome, a quick reminder of the value, and a bold, easy-to-click download link. Include a gentle next step (for example, invite them to your YouTube channel). Then add tags: one for the specific lead magnet (so you can track conversions) and one for your main list, so you know who expects ongoing updates.
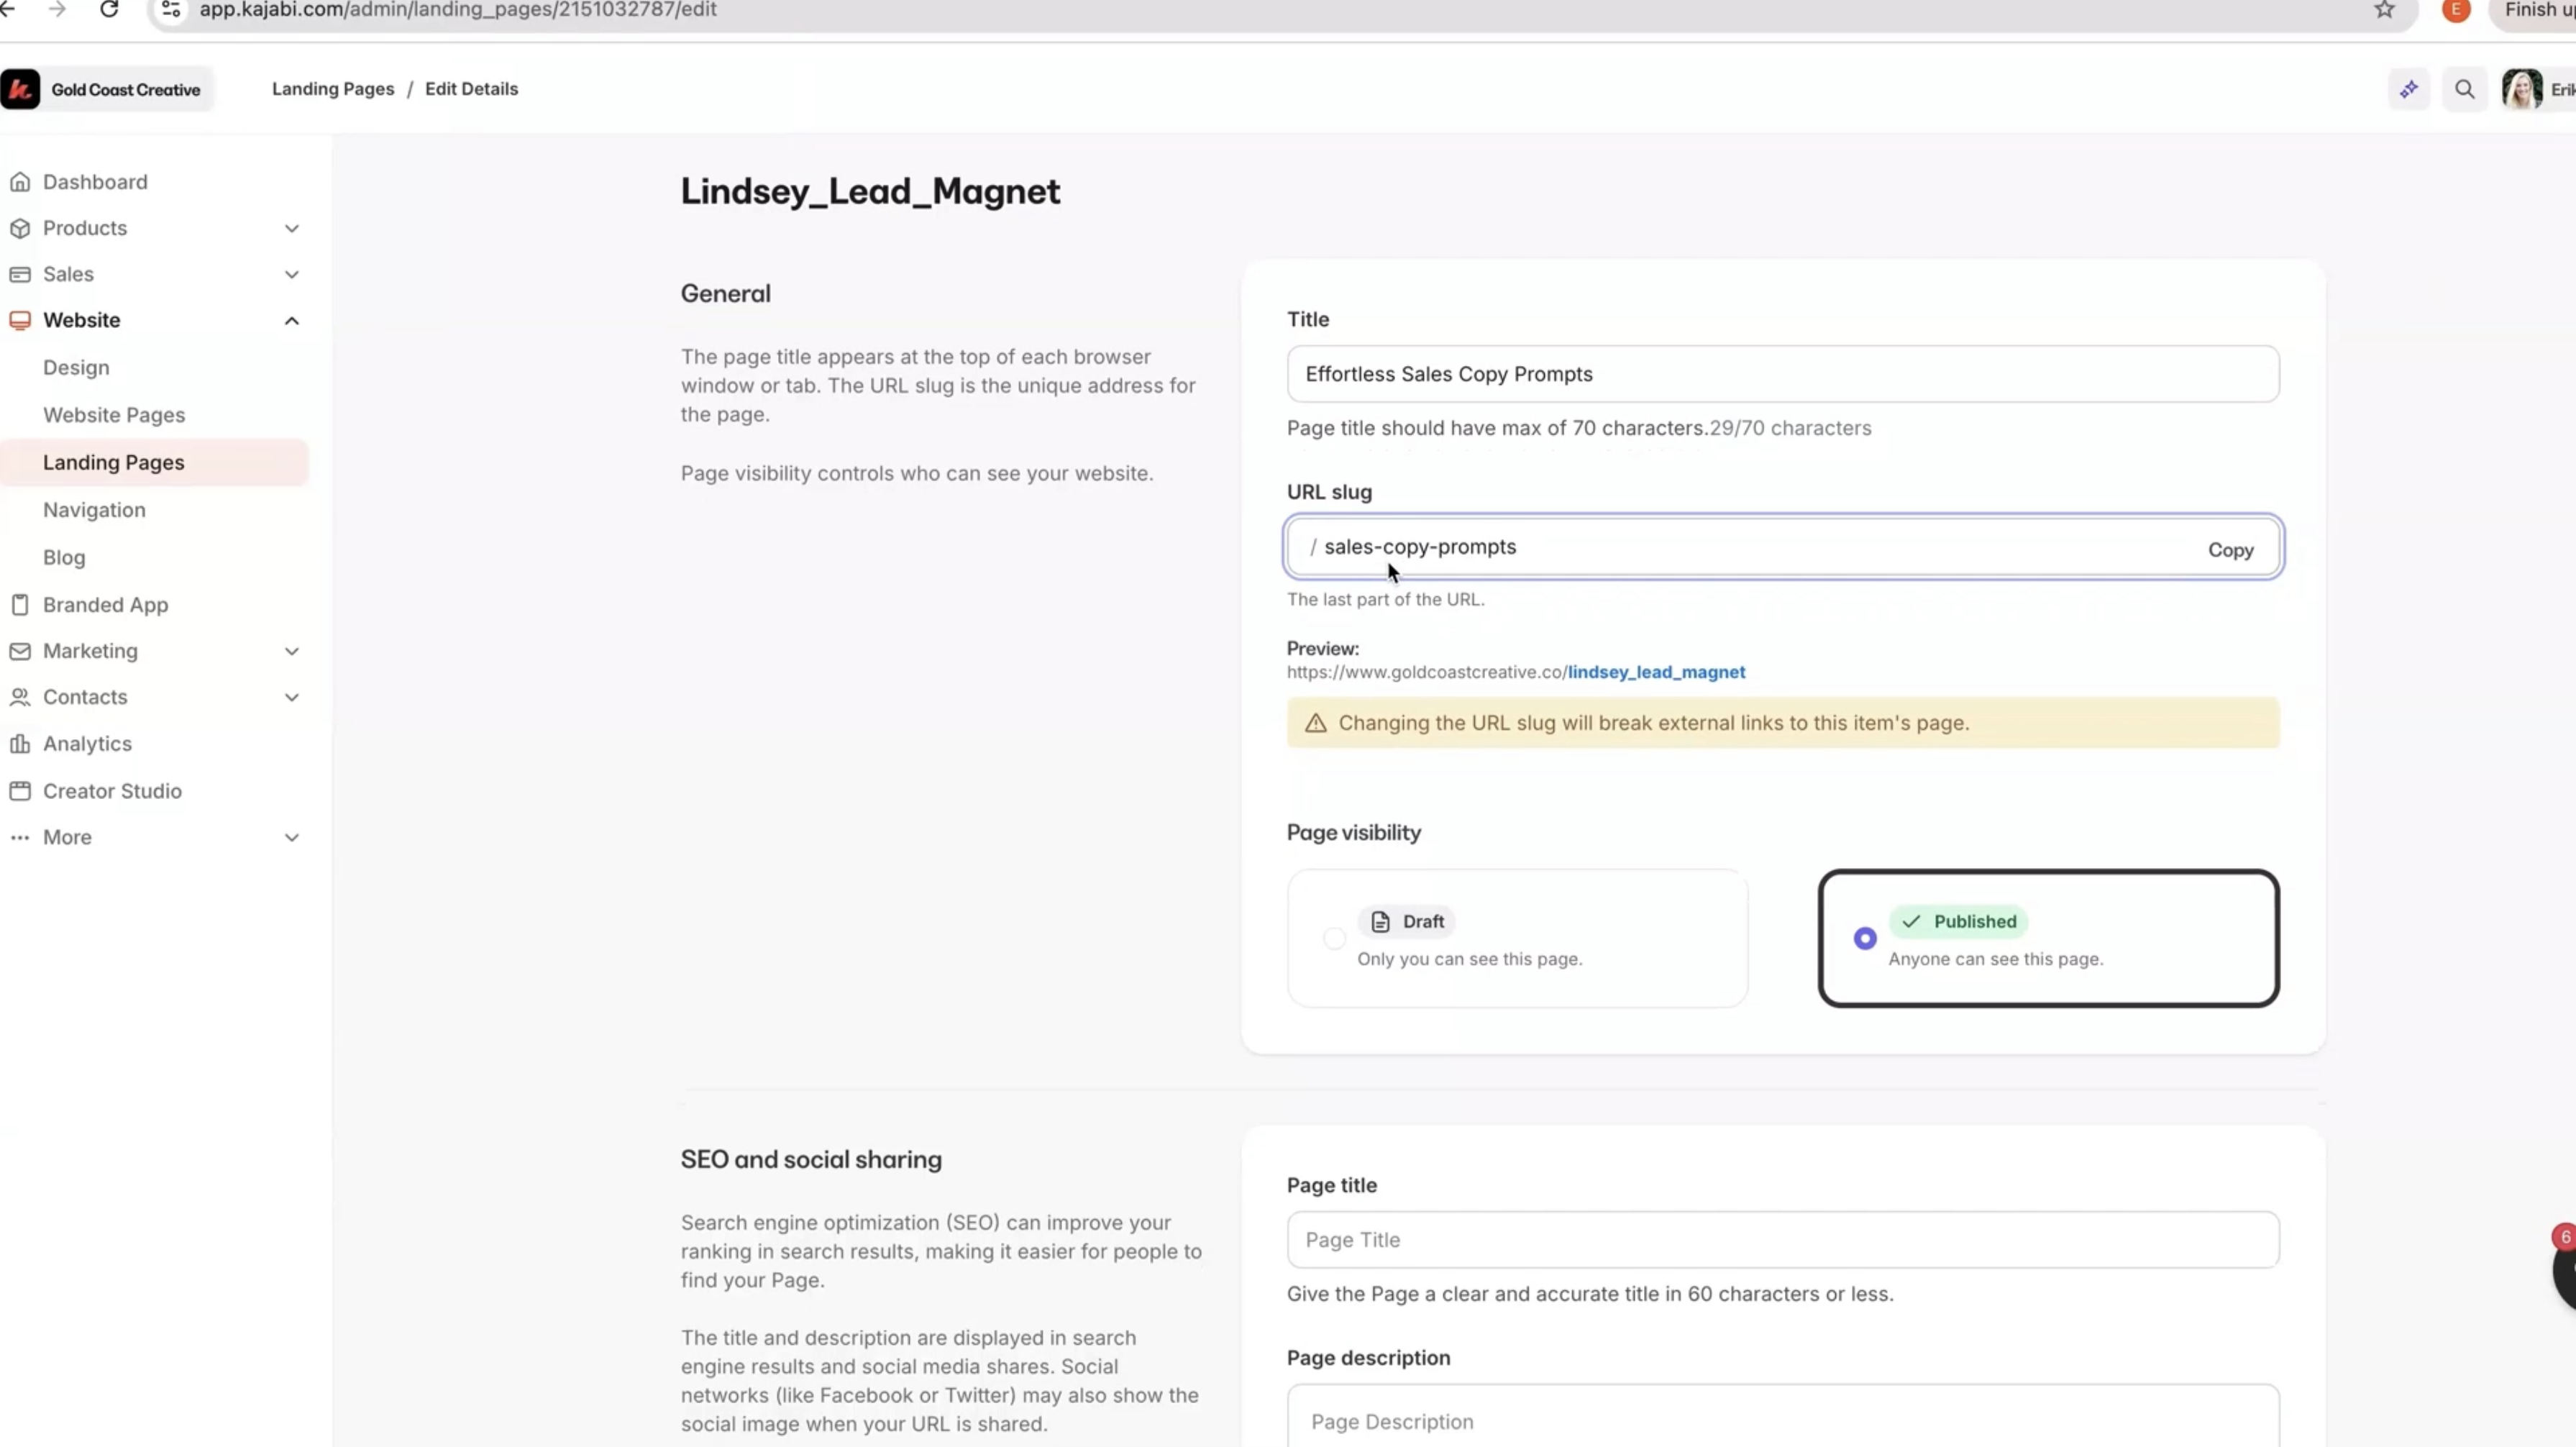
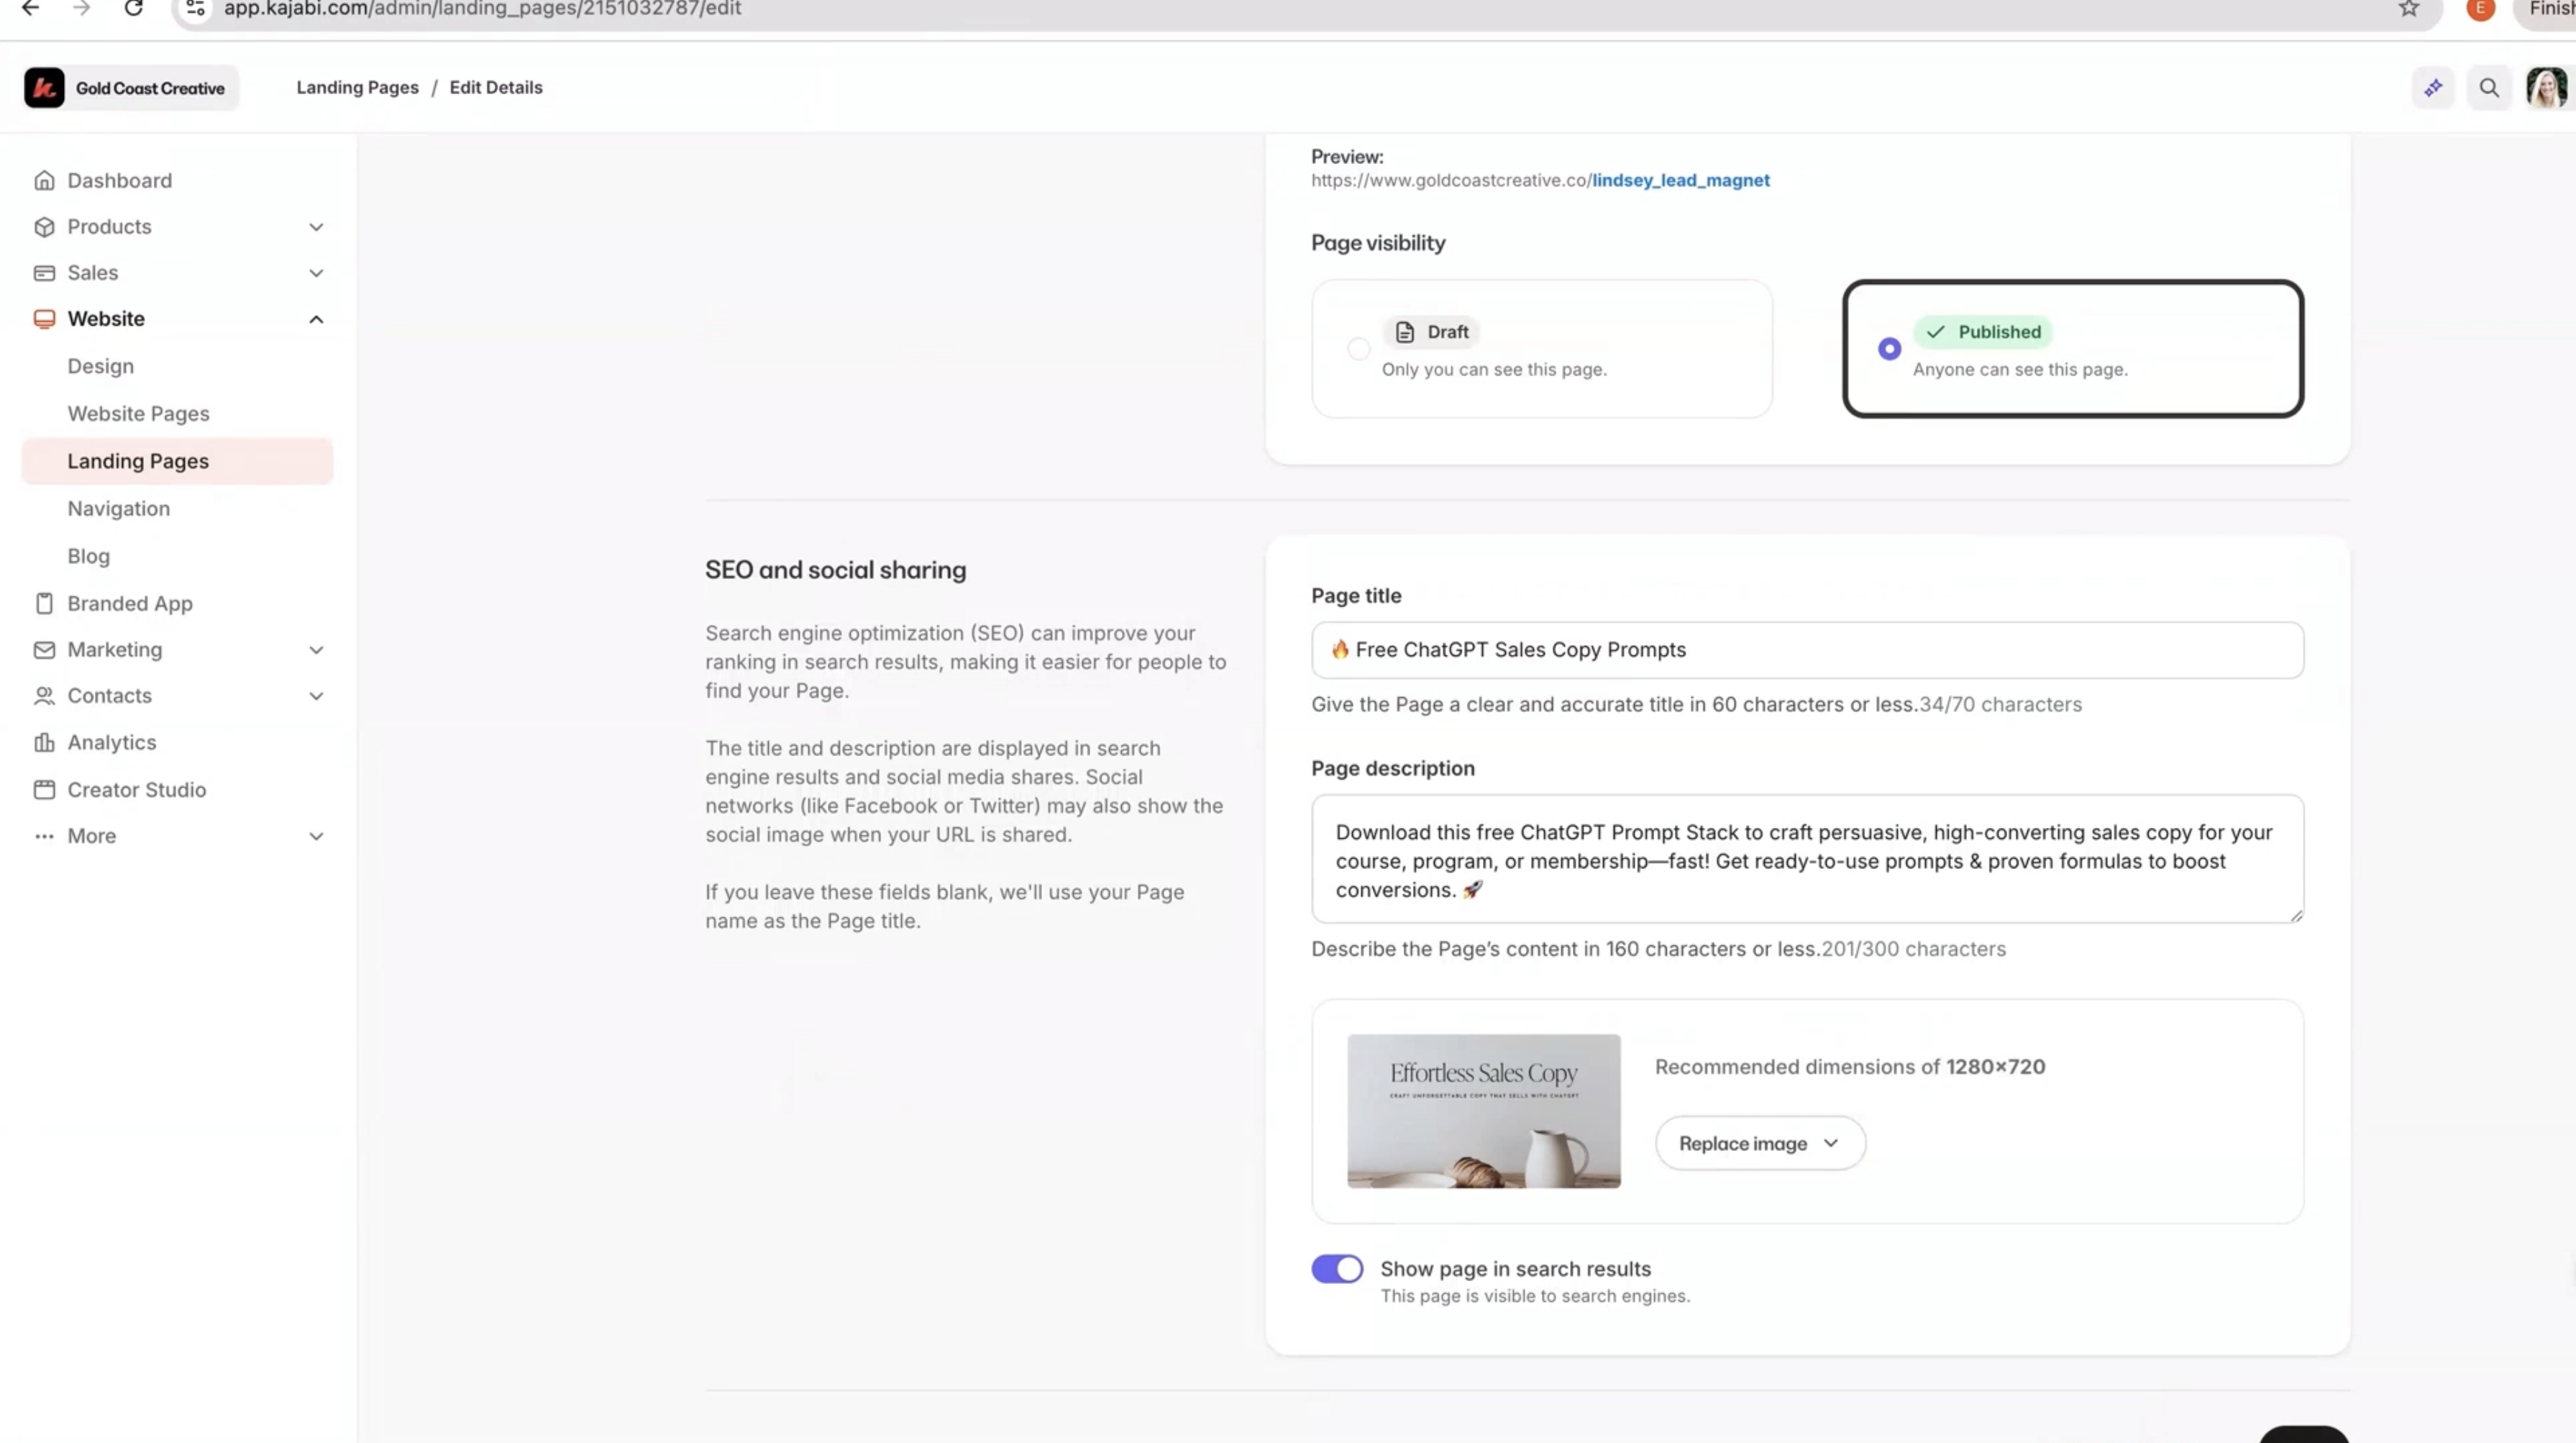
Step 6: Optimize Page Settings for SEO
Give your landing page a clear internal name and a simple, keyword-rich URL slug (like /sales-copy-prompts). Add a concise meta description and a clean social image so your link looks sharp when shared.
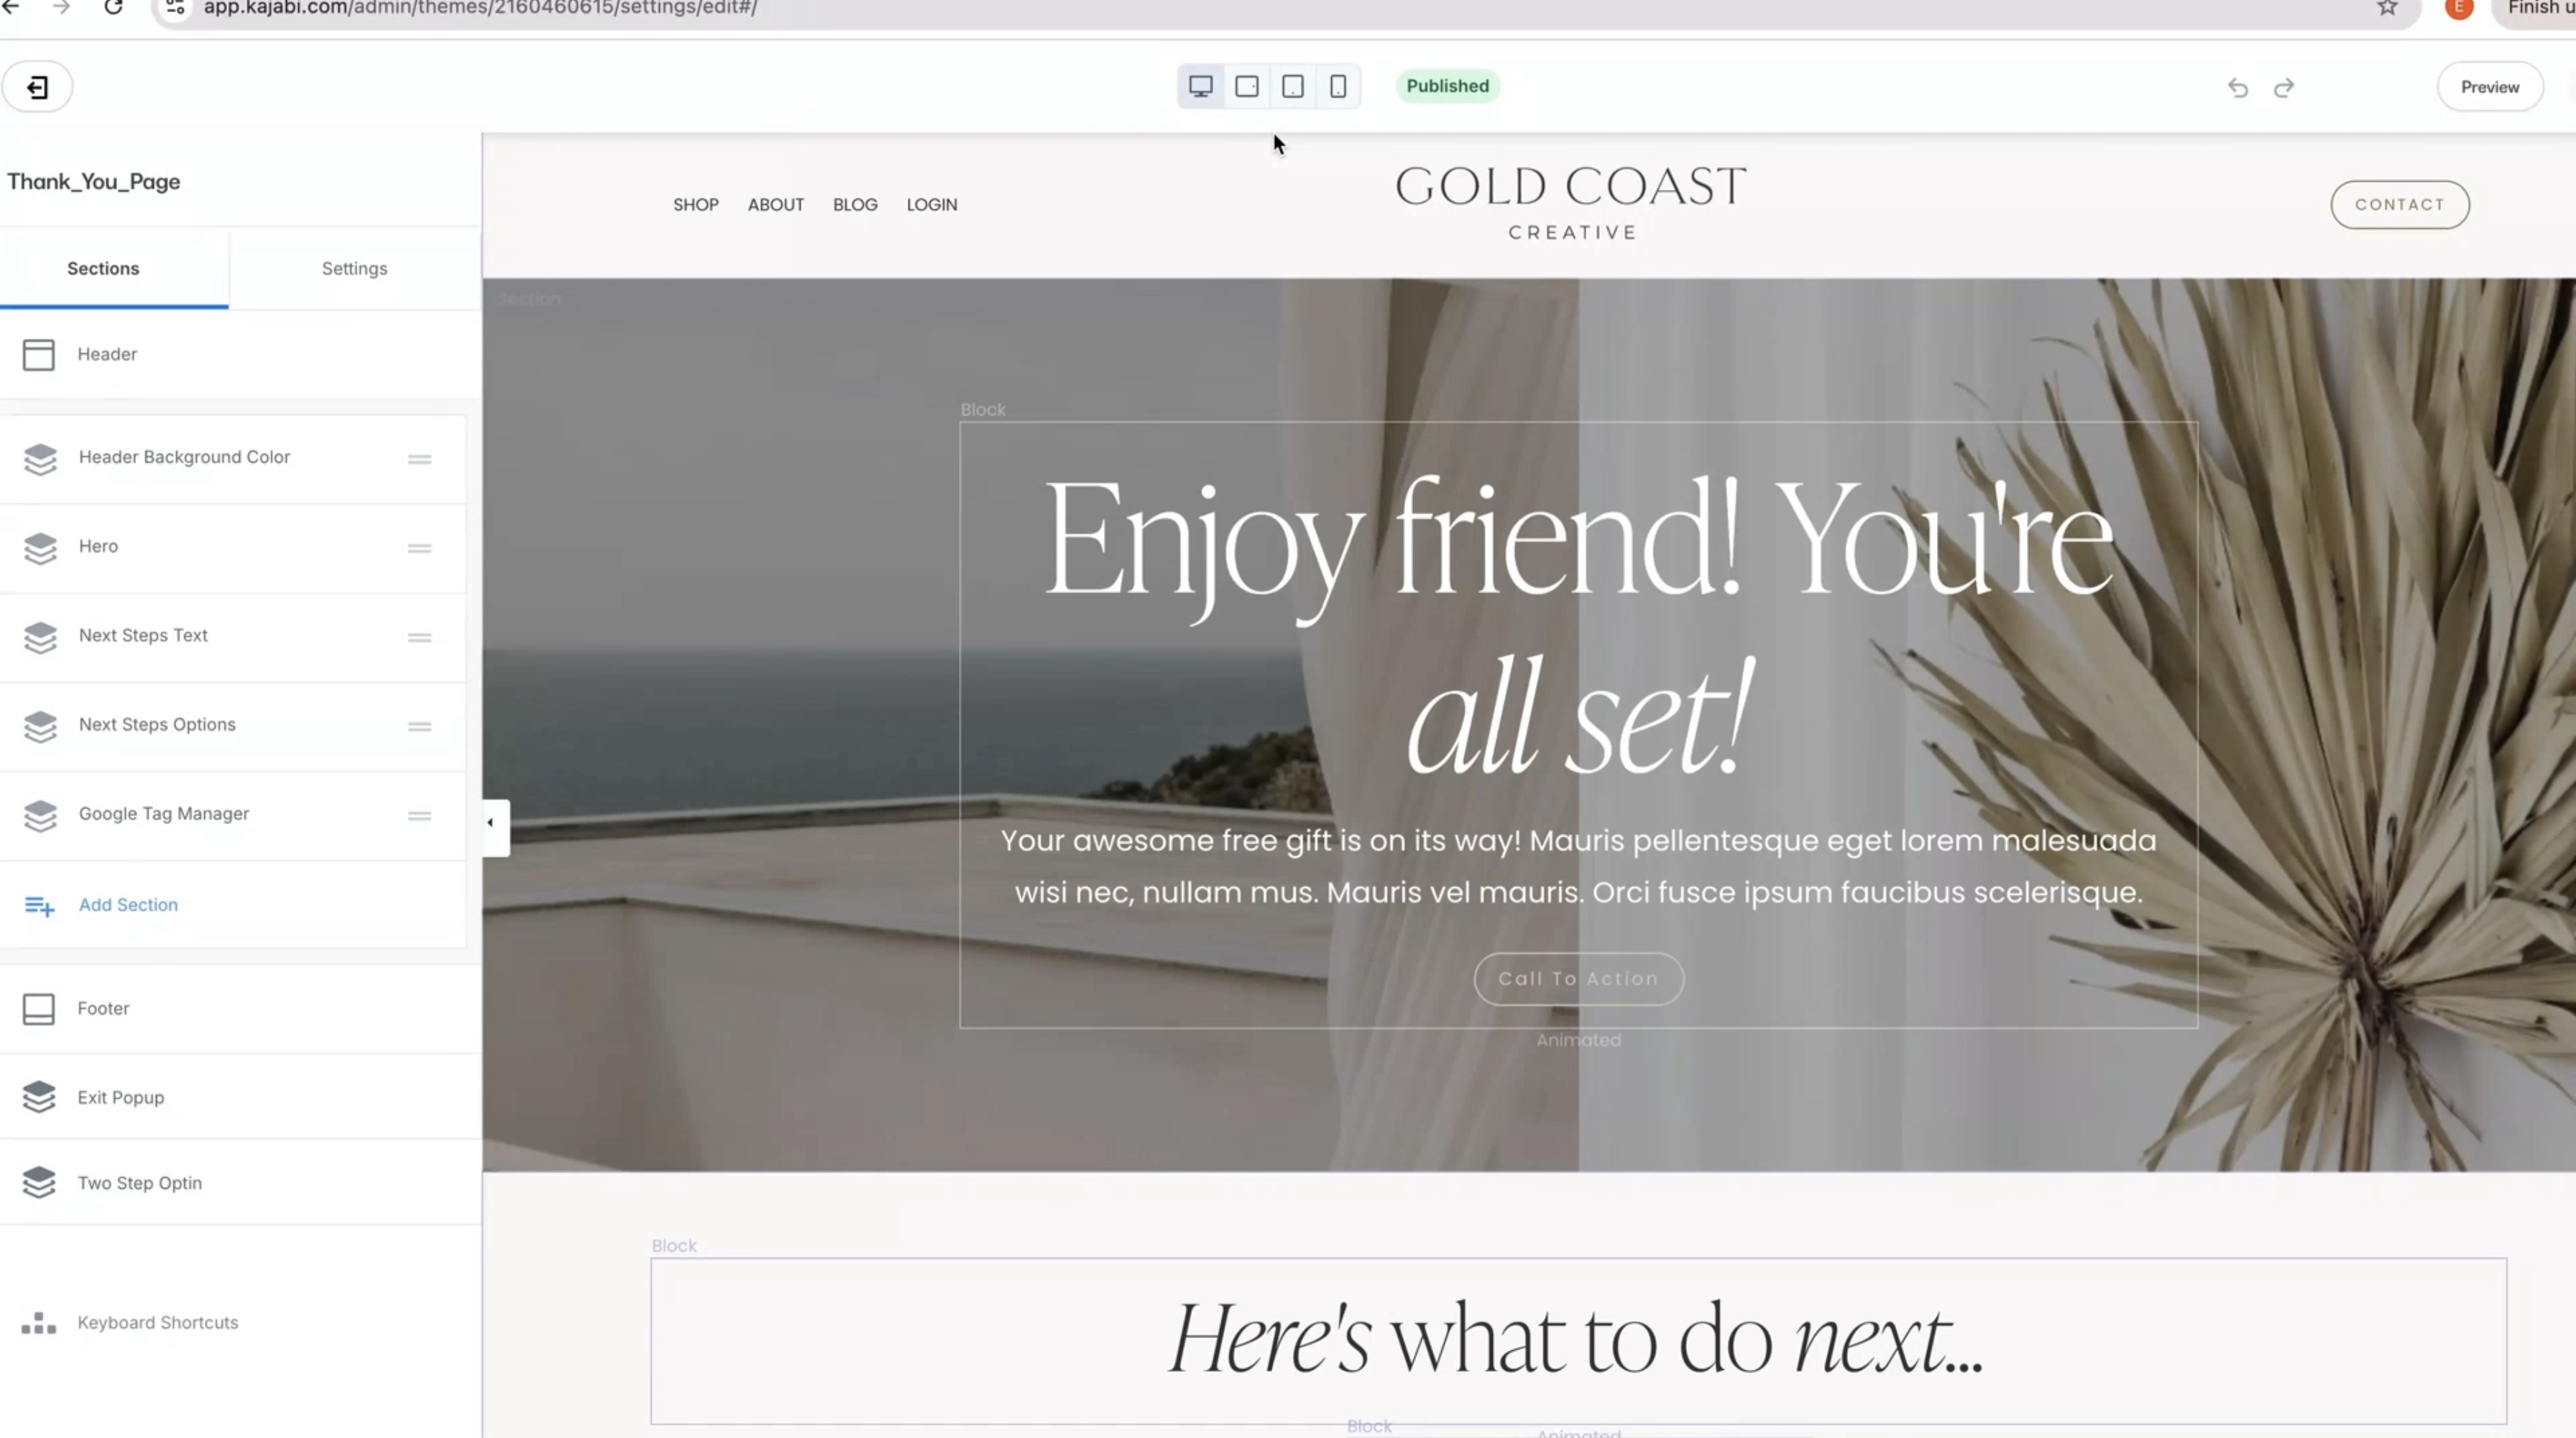
Step 7: Create a Branded Thank You Page
After they opt in, send them somewhere intentional. A thank you page can deliver the file, set expectations, and offer a next step. You can also test a new-subscriber one-time offer or a low-ticket product, but a simple “you’re in—here’s what to do next” works beautifully and keeps the experience on-brand.
Step 8: Test the Whole Funnel
Always do a full run-through with your own email. Confirm the form submits, the automation fires, the download link works, and the thank you page looks great on desktop and mobile. Small tweaks here make a big difference in conversions.
Quick Recap
You picked a high-value freebie, built a branded landing page, connected a clean form, set up automations and tags, created a thank you page, and test-drove everything. You now have a Kajabi lead magnet funnel ready to capture leads 24/7.
What to Read Next
If this was helpful, you’ll love my tutorial on adding designer-quality icons to Kajabi. It’s a simple design upgrade that instantly elevates your landing pages and sales pages—without custom code.